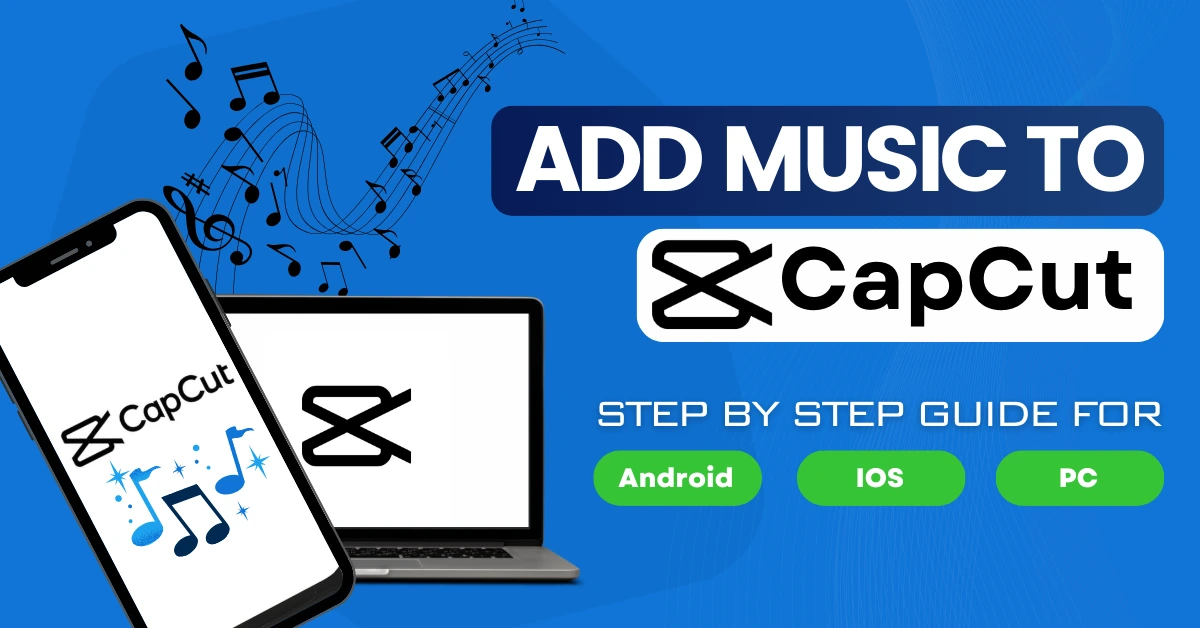
How to Add Music to CapCut? A Comprehensive Guide
Are you seeking to integrate personal music into CapCut? Incorporating music and songs into your videos can elevate their quality. Despite being occasionally overlooked, music stands as a pivotal element within videos. With CapCut, an encompassing video editing application, the inclusion of music becomes an accessible feature.
Moreover, several copyright-free music options further increase the experience. Let’s dive into the mechanics, how to add music to CapCut? This comprehensive guide teaches the step-by-step approach to adding music to your CapCut projects using various iOS and Android platform techniques.
Why Should You Add Music to Your Videos?
Music is an essential element in each video. It plays a pivotal role in creating a captivating atmosphere, creating profound emotions, and leaving a lasting imprint on the audience’s memory. To enhance your YouTube presence and craft attractive videos, mastering the art of adding music to your CapCut edits is important.
At the core of any audiovisual masterpiece lies the essence of music. This universal truth is evident in all remarkable films we encounter, from grandiose Hollywood spectacles to the imaginative creations of YouTube content creators. It lays the foundation for exceptional YouTube channel concepts.
How to Add Music to Capcut on Different Devices?
You may download different tunes from the CapCut app for free. This proves advantageous when sharing your videos on platforms like YouTube, as most music available on CapCut is designed to be copyright-free.
Moreover, CapCut software doesn’t rely on its built-in music library; it also empowers you to upload your music directly from your smartphone. Notably, the software encompasses features such as a voiceover tool and the capability to extract audio from videos.
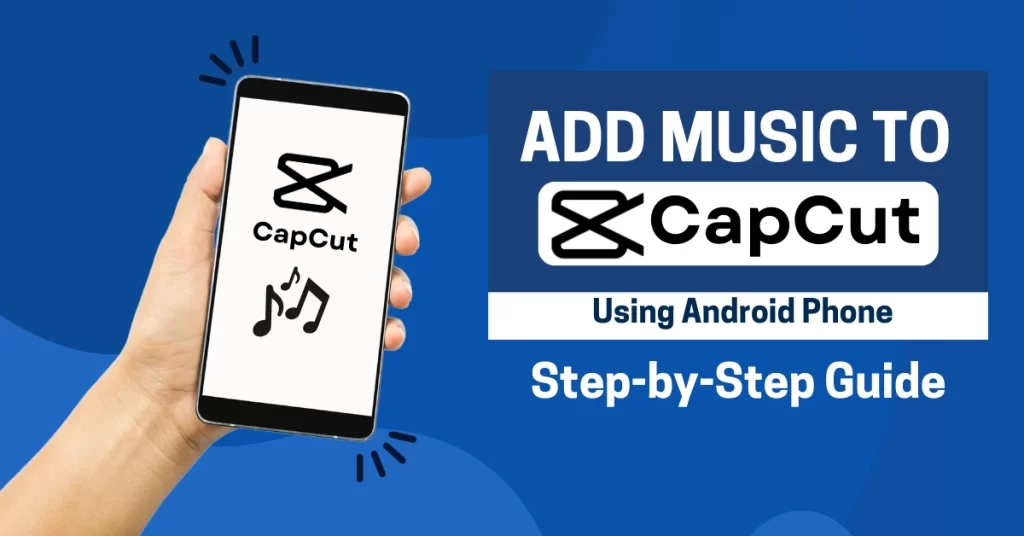
Steps to Add Music to Capcut on Android
Extracting Audio from Videos for Later Use
To incorporate voiceovers into your video, use these steps:
To initiate the voice recording, press and hold the recording button. When prompted by the pop-up, click “Allow” to commence the voiceover. While maintaining the record button’s hold, begin speaking. Once you’ve finished speaking, press the play button once more.
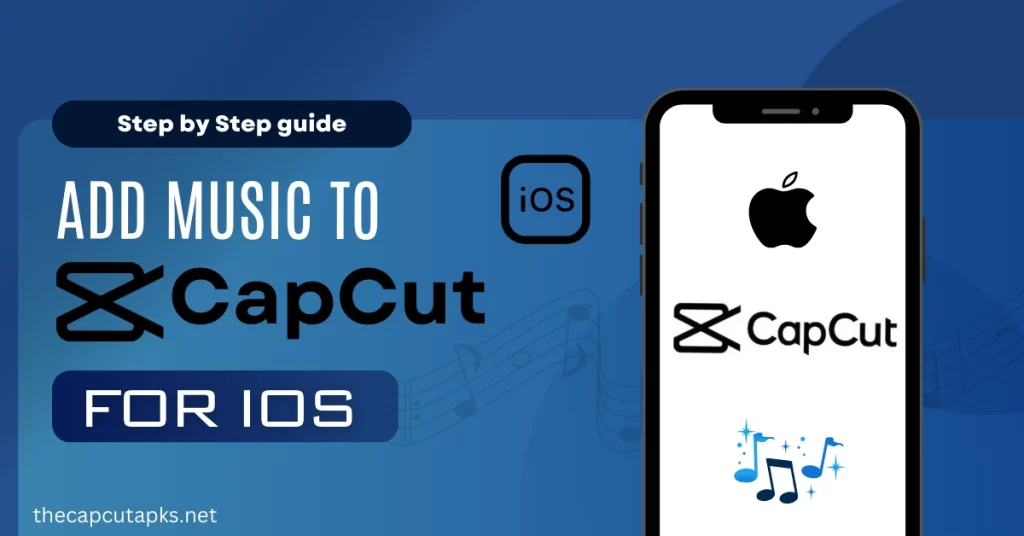
How to Add Music to Capcut on iOS?
How to add Music to Capcut On PC?
How do you edit Music on Capcut?
1. Select Music
Choose the music you want to edit in your CapCut project.
2. Adjust Speed
Right-click the video clip containing the music and select the “Speed” tab.
3. Access Sound Editing
Click on the three horizontal lines next to the “Curve choice” and “Custom” options.
4. Modify Sound
To change the music, tap the options again. Click the “Add Beat” button in the top-right corner to introduce a beat at a specific point. This enables you to slow down the beat of the chosen video clip.
5. Adjust Volume
CapCut allows you to adjust the volume for each clip within your timeline separately. Follow these steps to achieve this:
By following these steps, you can precisely adjust the volume and timing of your music in your CapCut project.
How do you add songs from Spotify to CapCut?
To incorporate tracks from Spotify into your CapCut projects, follow these steps:
1. Search and Select Music
Search for the desired music on Spotify to include in your CapCut video.
2. Convert and Download
Employ a reputable Spotify music converter such as NoteBurner to convert and download the chosen music from Spotify. This process is crucial to obtain a compatible audio file for CapCut.
3. Copy the Song’s Link
Once you’ve acquired the converted audio file, copy the link of the respective song from Spotify.
4. Download the Audio
Utilize the Spotify song’s URL in the designated download feature provided by the converter. This step enables you to save the audio file onto your device.
5. Open Your CapCut Project
Launch the CapCut application and access the project you’re working on.
6. Add Custom Music
Inside CapCut, navigate to the “My Music” section, usually denoted by a music icon. Here, you can import your custom music files.
7. Incorporate Spotify Audio
Look for the downloaded Spotify audio file within the “My Music” tab and integrate it into your CapCut project.
Following these steps, you can effectively integrate Spotify music into your CapCut videos while respecting copyright guidelines.
How to Add Music to CapCut From YouTube?
Method 1: Using Screen Recorder for Music in CapCut
Method 2: Adding Music Using an Online Tool
If you’re aiming to infuse your project with captivating music, you can increase the capabilities of an online tool, such as a dedicated website or software. This method offers a streamlined approach to realizing your objective effectively.
Follow these steps to integrate music into your content using this technique:
NOTE: This process entails recording copyrighted content and could potentially violate copyright laws. Ensure you have the right to use and share the content you capture.
How to add TikTok Sounds to CapCut?
1. Download the TikTok Video
- Access the TikTok application and locate the desired video from which you intend to extract the music.
- Tap the “Share” button (usually an arrow pointing to the right).
- Opt for the “Save video” or “Save to gallery” alternative to initiate the download of the TikTok video onto your device.
2. Download the Music from TikTok
- Search for “extract audio from video online” in your preferred search engine to find a suitable tool.
- There are various online tools and apps that allow you to extract audio from videos. You can use one of these tools to extract the music from the TikTok video you downloaded.
- Follow the instructions on the tool to upload your TikTok video and extract the audio/music.
3. Import Music to CapCut
- Launch the CapCut application on your device.
- Initiate a new project or access an already existing project.
- Look for an “Add Media” or “Import” button within the CapCut interface. This is typically used to import media files into your project.
- Use this option to import the music/audio you extracted from the TikTok video.
4. Sync Music with Video
- Drag it onto the timeline after importing your music into the CapCut project.
- Import the previously downloaded TikTok video onto a separate layer of the timeline.
- Modify the music and video’s timing and placement to synchronize them according to your preferences. Feel free to trim, cut, and adjust the clips as needed.
5. Fine-tune and Export
- Utilize CapCut’s editing features to refine the music and video alignment.
- Once content with the outcome, preview the video to ensure seamless synchronization.
- When ready, export the edited video with the TikTok music added.
Advantages of Capcut When it Comes to Adding Music
CapCut offers several distinct advantages when adding music to your videos. Adding music to your videos enhances production quality and maintains viewer engagement. It establishes the desired mood and aids in conveying your intended message. CapCut’s music editing feature brings numerous benefits to you.
1. Rich Library of Royalty-Free Music
This diverse collection includes popular songs, trending TikTok music, and specialized tracks, allowing you to add depth to your videos and emphasize specific moments. Categories such as “Travel,” “Love,” “Vlog,” and “Rock” make it easy to select appropriate music that suits your video’s theme.
2. Free Access to Music Files
CapCut’s commitment to providing free and accessible video editing tools ensures that you can add music to your videos without additional cost. The platform offers a wide range of royalty-free audio tracks and exclusive copyrighted songs that can be integrated into your videos.
3. Efficiency and Simplicity in Editing
CapCut’s intuitive and user-friendly interface enables anyone without editing experience to effortlessly incorporate music into their videos.
4. Layering and Customization
CapCut empowers you with high creative freedom. You can easily layer multiple audio files in your timeline, including audio extracted from the original video source. Adjusting the volume of individual audio clips adds another layer of customization to your video’s audio elements.
5. Enhanced Engagement and Mood Setting
CapCut’s music editing feature lets you choose the perfect soundtrack to enhance viewer engagement, evoke emotions, and effectively communicate your intended message.
FAQs
Final Verdict
How to add music to CapCut is easy and hassle-free if you follow our guide. CapCut emerges as a versatile and user-friendly solution for integrating music into your videos, serving as a gateway to elevating the quality and impact of your content. By following the guidelines outlined you can easily add music to CapCut.
The artful incorporation of music brings depth, emotion, and atmosphere to videos, whether personal creations or professional productions. However, with CapCut’s intuitive interface and comprehensive features, adding music becomes accessible to novices and seasoned video editors.
![CapCut Pro APK V8.7.0. | Download [Latest Updated] 2023](https://thecapcutapks.net/wp-content/uploads/2023/08/CapCut-Pro-APK-V8.7.0-Download-Latests-Version-768x402.webp)