How to Use CapCut? A Complete Guide to Use CapCut
How do you transform random video clips into a polished masterpiece that tells your story just as you envision it? How to Use CapCut for this? Don’t worry; you’re not alone in this journey. Whether you’re piecing together your latest adventure, sharing memorable moments on social media, or crafting a narrative that’s uniquely yours, CapCut’s got your back.
In this guide, I will unravel the magic of CapCut step by step, making the complex editing process easy. Let’s dive in and unlock the world of captivating video editing together. Learn about the editing of videos on [capcut for PC] and Android.
How to Use the CapCut For Beginners?
CapCut is a free video editing application. The creators of TikTok developed it and quickly gained popularity in the editing market after its global launch in April 2020. Its user friendly interface and powerful features appealed to casual users and content creators, benefitting from TikTok’s expansive user base.
- Launch the application.
- Initiate a “New Project.”
- Grant CapCut the necessary camera permissions.
- Handpick a video clip to begin your editing endeavor.
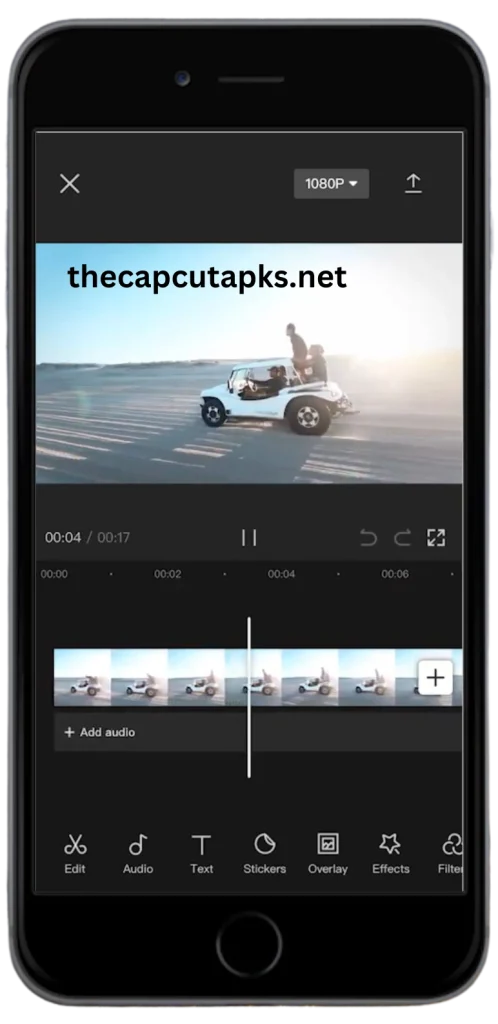
- Explore the features of the “Preview Panel,” “Timeline,” and “Toolbar,” each designed to elevate your editing experience.
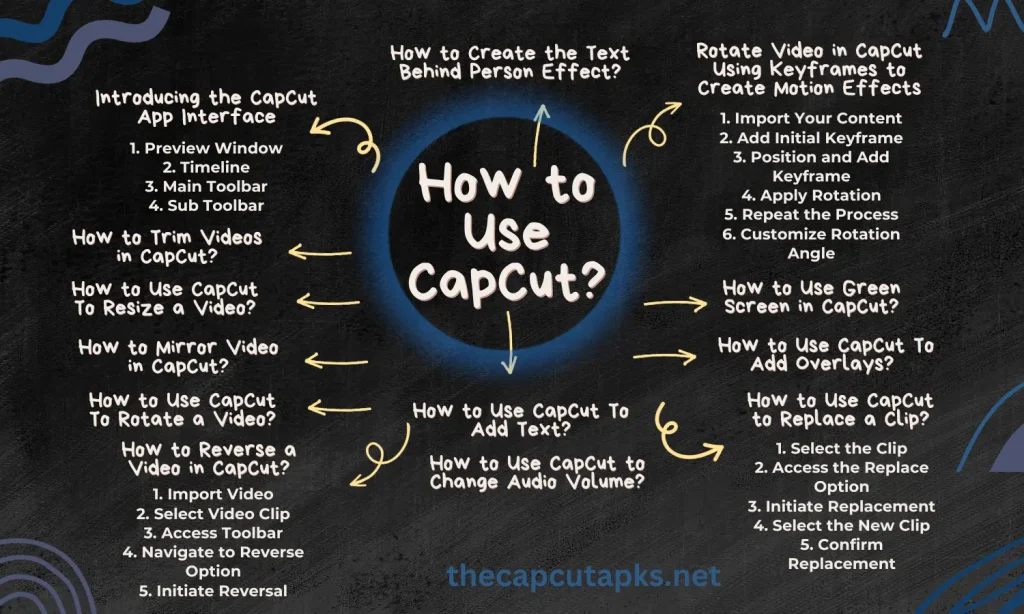
Introducing the CapCut App Interface
1. Preview Window
Within the preview window, you can play back videos and perform intuitive actions such as pinching, dragging, and rotating to interact directly with the clips.
2. Timeline
The timeline feature empowers you to compile, organize, and apply edits to various elements like video, audio, overlays, effects, and text tracks.
3. Main Toolbar
All the essential tools are conveniently housed within the Main Toolbar. This toolbar becomes accessible whenever no specific clip is chosen on the timeline, ensuring easy access to the necessary functions.
4. Sub Toolbar
These dedicated toolbars cater to different tracks and clips present on the timeline. For instance, distinct sub-toolbars are provided for video clips, text, audio, overlays, and other relevant elements.
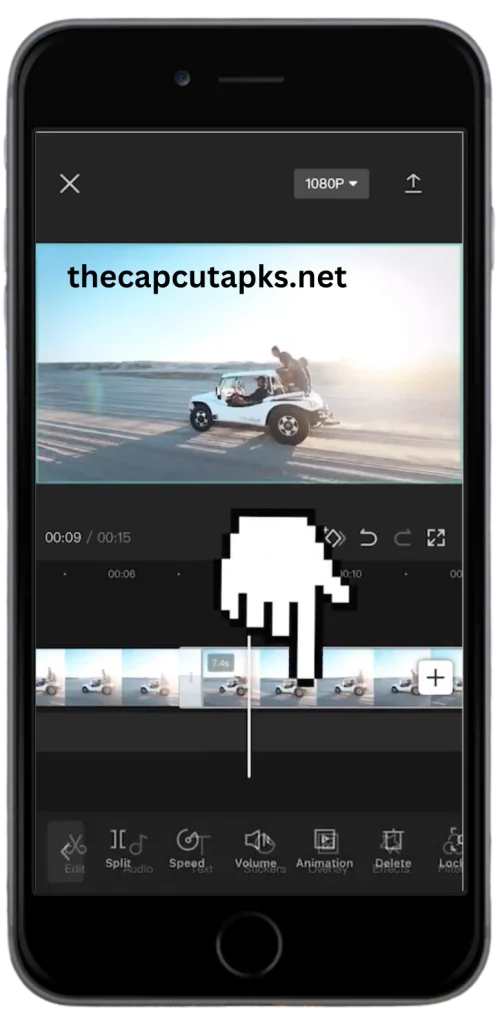
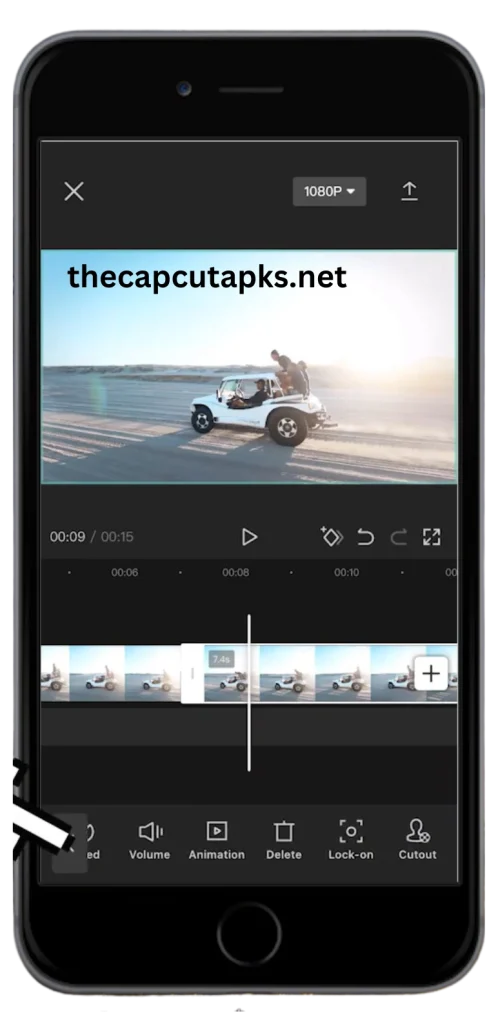
How to Trim Videos in CapCut?
After importing videos into the timeline, proceed with the following instructions to trim your videos using CapCut:
- Select the desired video clip; this action will cause white frames to appear around the clip.
- Tap and hold the white frame at the video clip’s edge.
- Drag the frame to your desired position to trim the video accordingly while holding.
- Drag the frame from the opposite end to recover trimmed segments.
How to Use CapCut To Resize a Video?
By following these steps, you can effectively trim your videos within the CapCut application.
To adjust the dimensions of your videos using CapCut, adhere to these instructions:
- Open the CapCut app and load the project containing the video you wish to resize.
- Locate and tap on the specific video clip within the timeline that you intend to alter in size.
- Select the “Format” icon at the bottom of the editing interface. An aspect ratio symbol typically represents it.
- You’ll have various aspect ratio options upon clicking the “Format” icon.
- Pick an aspect ratio that suits your intended platform or desired dimensions. This choice will determine how the video is resized and fitted for optimal viewing on different platforms.
Following these steps, you can resize your videos in CapCut to ensure they fit appropriately on various social media platforms.
How to Mirror Video in CapCut?
Mirroring a video involves the horizontal flipping of its content, either for creative purposes or to produce an intriguing effect by juxtaposing two videos mirrored along the horizontal axis.
To mirror a video horizontally in CapCut, follow these steps:
- Begin by importing the desired video clips into the CapCut application.
- Once the video clips are imported, you’ll notice a toolbar emerging at the bottom of the screen. Proceed by tapping on the “Edit” menu.
- Within the “Edit” menu, you’ll find another option labeled “Edit,” positioned between the “Extract Audio” and “Filters” tools. Give it a tap.
- Inside the “Edit” option, locate and select the “Mirror” tool.
- These steps can achieve a horizontal mirroring effect for your video content.
How to Use CapCut To Rotate a Video?
- Launch CapCut and start a new project. Import the video clips you want to edit from your camera roll by tapping the Add button.
- Once you’ve added the video clips, tap the first Edit button to access the video editing toolbar.
- Locate the second Edit button inside the editing toolbar and click on it. From the options that appear, select the Rotate function.
Following these steps, you can easily rotate videos in CapCut to correct orientations or apply creative rotation effects, including zooming and animated rotations.
Rotate Video in CapCut Using Keyframes to Create Motion Effects
To achieve captivating rotating video effects similar to the trendy videos and selfies you’ve seen, follow these steps in CapCut:
1. Import Your Content
Import your video clips or pictures into the CapCut application.
2. Add Initial Keyframe
Tap on the clip you want to rotate and locate the Keyframe icon. This icon is typically situated beneath the preview window, adjacent to the Play button. Activate it to create your initial Keyframe.
3. Position and Add Keyframe
With the clip selected, swipe to the right to advance to a new position. Once you’ve reached the desired spot, activate the Keyframe icon again to insert another Keyframe.
4. Apply Rotation
While remaining on this second Keyframe, employ a two-finger pinch gesture directly within the preview window. This action lets you resize and rotate the clip according to your preferences.
5. Repeat the Process
Proceed by creating subsequent Keyframes as you advance through your clip. For each new Keyframe, go back to step 3 and iterate the process. This entails moving forward, generating a Keyframe, and then using the pinch gesture to rotate the clip further.
6. Customize Rotation Angle
Feel free to adjust the rotation angle. You can opt for a complete 360-degree rotation, a 180-degree flip, or any other angle that suits your creative vision.
By following to these steps, you can craft dynamic and attention grabbing rotating effects for your videos and selfies within CapCut. Experimenting with different rotations and positions to achieve the desired visual impact is key.
How to Reverse a Video in CapCut?
1. Import Video
Add the desired video to your CapCut project.
2. Select Video Clip
Locate the video clip you wish to reverse within your project timeline.
3. Access Toolbar
Tap on the video clip to activate the editing toolbar at the bottom of the screen.
4. Navigate to Reverse Option
Swipe horizontally across the toolbar towards the right until you come across the Reverse icon.
5. Initiate Reversal
Upon finding the Reverse icon, tap on it to apply the reversal effect to the video.
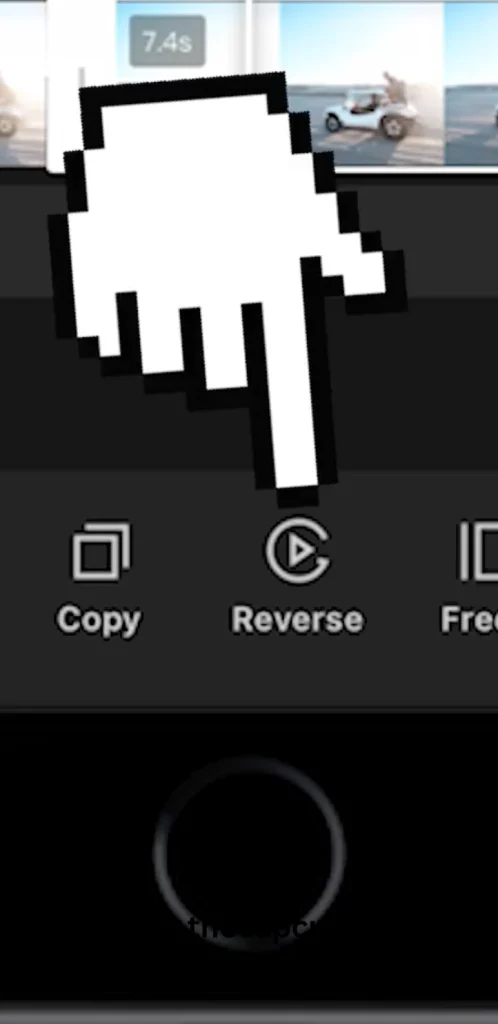
Following these steps, you can effortlessly create intriguing effects, such as reassembling broken glass or merging torn paper through the video reversal feature in CapCut.
How to Use CapCut to Replace a Clip?
To replace a clip in CapCut, follow these steps:
1. Select the Clip
Open your project in CapCut and locate the video clip that you wish to replace. You can use the Split tool to divide the footage if you want to replace only a specific portion of the clip. Tap on the segment you want to swap.
2. Access the Replace Option
You’ll find a toolbar at the bottom of the screen. Swipe this toolbar to the right until you reach the last option, the “Replace” icon. This icon looks like an arrow pointing up and down.
3. Initiate Replacement
Tap the “Replace” icon. This action will prompt a menu, allowing you to select the new video clip you want to add to the project.
4. Select the New Clip
Browse through your device’s media gallery to find and select the video clip that you want to use as a replacement.
5. Confirm Replacement
After selecting the new clip, CapCut will confirm if you want to proceed with the replacement. Confirm the action to replace the original clip with the newly selected one.
By following these steps, you will successfully replace a video clip in CapCut without the need to adjust its duration or reapply effects.
How to Use CapCut To Add Overlays?
To utilize overlays within the CapCut video editing software, you can integrate videos, images, and text onto your primary clip. This enables you to generate effects like Picture in Picture and distinct title effects or incorporate them alongside green screen effects and other creative techniques.
To effectively incorporate and modify overlays using CapCut, follow the following steps:
By following to these steps, you can effectively incorporate overlays into your CapCut project.
How to Use Green Screen in CapCut?
CapCut offers the Chroma Key feature to remove colours like a green screen.
How to Use CapCut To Add Text?
To incorporate text easily in CapCut, use the below steps
How to Use CapCut to Change Audio Volume?
Modifying the audio volume in CapCut is an easy process that allows you to adjust the sound levels or even mute audio entirely. Follow these steps to manipulate audio volume for both background music and environmental sounds within your video:
How to Create the Text Behind Person Effect?
Begin by incorporating text into your video using the usual text editing tools in CapCut. Once satisfied, export this video clip.
- Open a new project in CapCut and import the previously exported video. This will be your main video track.
- Access the overlay function and bring in the original video (without any added text) onto the overlay track.
- Utilize CapCut’s “Move background” feature, which enables you to eliminate the background. This step effectively places the text behind the person in the video.
- Once done, you’ll have successfully created the desired effect.
FAQs
Final Verdict
CapCut is a versatile and user friendly video editing application that offers a wide range of features to enhance your video content. Whether you’re a casual user looking to create captivating videos or a content creator aiming for professional results, CapCut provides an accessible platform to bring your creative vision to life.
How to Use CapCut? We have provided a complete guide to using CapCut to enhance your editing experience. From basic editing tasks like trimming, resizing, and rotating videos to more advanced techniques like adding overlays, using green screen effects, etc. CapCut is the best tool to use.