How To Create CapCut 3D Zoom Effect?
Are you ready to take your video editing skills to the next level? With the CapCut new 3D Zoom feature, you can now add a captivating depth to your videos that will truly engage your audience. Imagine starting with a simple question, then smoothly zooming in on the answer, all while adding a mesmerizing 3D effect that makes your content pop.
Whether you’re a content creator, vlogger, or just someone who loves sharing life’s moments, CapCut’s 3D Zoom opens up a world of creative possibilities. It allows you to captivate your viewers like never before. Elevate your video editing game and leave your audience in awe with CapCut’s innovative 3D Zoom feature.
What Is CapCut 3D Zoom Effect?
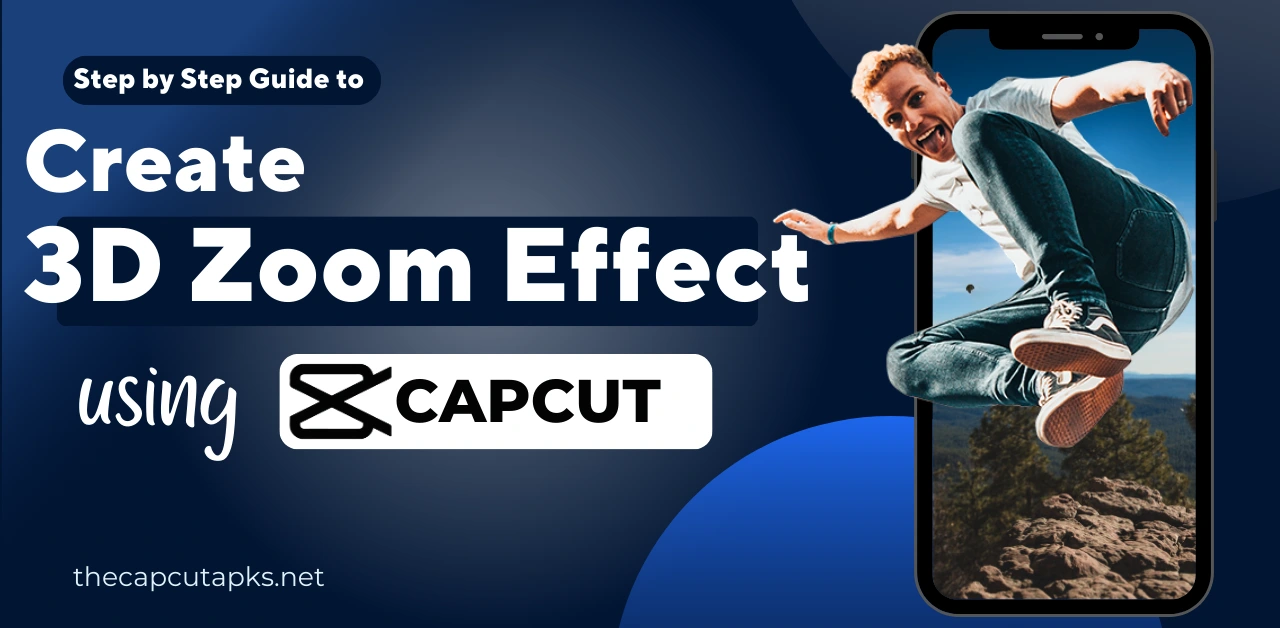
The CapCut 3D effect, also known as the CapCut 3D Zoom effect, is a visual effect used in the CapCut video editing app. This effect is applied to still images to create the illusion of depth and movement, giving them a 3D appearance. It’s similar in concept to the Ken Burns effect, commonly used in film and video production.
Learn how to create 3D effects using CapCut. In the following steps, we’ll demonstrate how to achieve the 3D Zoom effect on both Android and iPhone platforms.
Step 1
Begin by downloading and installing the CapCut application on your mobile device. After installation, launch the app and select “New Project” to access your device’s photo and video gallery.
Step 2
Select the photos you want to use for your 3D effect. Many users upload around 11 photos for this effect and then click “Add” to import them into the project.
Step 3
Within the CapCut editor, adjust the duration of the selected photos as follows: If you’ve included 11 photos, reduce the first four photos to a duration of 0.5 seconds each, and shorten the remaining seven photos to 0.3 seconds each. To perform this adjustment, click on a photo and drag the right edge of the photo to the left. Repeat this process for all of your photos.
Step 4
Apply the CapCut 3D Zoom effect to each photo. Click on each photo, scroll over the bottom bar, click “Style,” and find the “3D Zoom” option. After applying the effect, preview your photo and click the checkmark to confirm.
Note: Before applying the CapCut 3D effect to each photo, you can also apply filters to enhance the picture’s appearance.
Step 5
To incorporate music into your project, select the “Audio” option and import your desired audio file. Subsequently, tap the “Export” button located in the upper right-hand corner to save the video to your device’s gallery. Alternatively, you can click “Share to TikTok” for seamless uploading of your 3D photo trend video directly to TikTok.
FAQs
What is the CapCut 3D Zoom effect used for?
The CapCut 3D Zoom effect is used to create a 3D appearance and a sense of depth and movement in still images. It’s often used to make photos more visually engaging in video projects.
Is the CapCut 3D Zoom effect available for all devices?
Yes, CapCut is available for both Android and iPhone devices, making it accessible to a wide range of users.
How many photos should I use for the CapCut 3D Zoom effect?
Many users typically use around 11 photos to create a dynamic 3D effect. However, you can experiment with the number of photos to achieve the desired result.
Final Words
The CapCut 3D Zoom effect is a creative and visually engaging way to make still photos appear dynamic and three-dimensional in your video projects. By following the step-by-step guide provided, you can easily apply this effect to your photos using the CapCut video editing app on both Android and iPhone devices.
However, experiment with different photos and durations to achieve the desired level of depth and movement in your images. Don’t forget to explore other editing options, like filters, to enhance your creations further.

