How to Blur on Capcut? Easy Step-by-Step Guide
Blurring a video in Capcut is a useful editing skill for various purposes, such as safeguarding privacy or concealing sensitive information. How to blur on CapCut? Capcut offers multiple methods to achieve this effect. These methods allow you to blur videos or specific parts of videos effectively using Capcut.
Let’s dive into the methods of how to use CapCut to blur videos, images, and other sensitive information.
How to Blur on CapCut? 4 Methods
Here are four different methods to blur a video or a specific part of it, including blurring the video background. So, learn how to blur on CapCut.
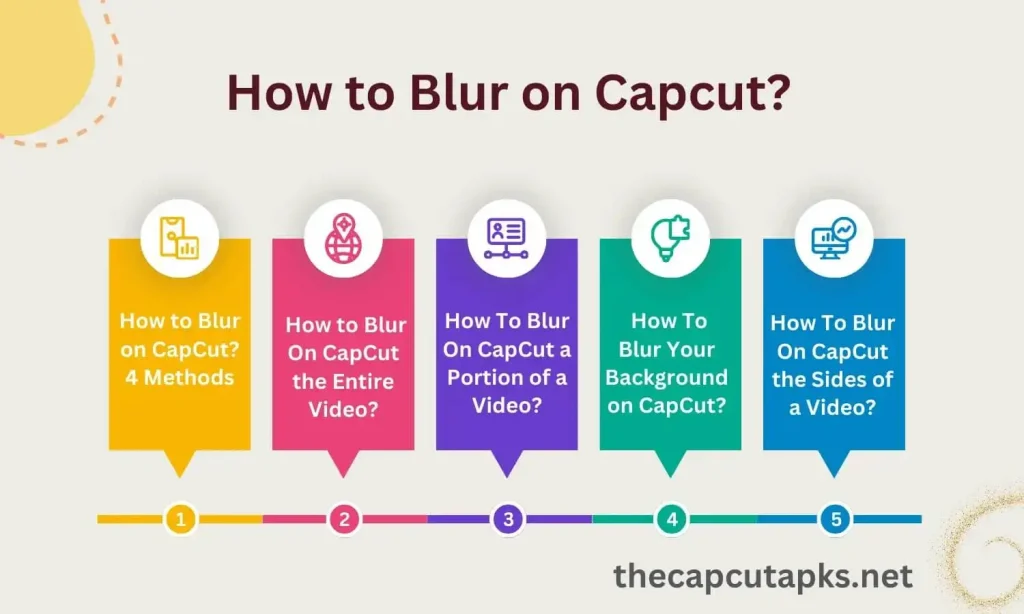
Method 1: How to Blur On CapCut the Entire Video?
If you wish to apply a blur effect to the entire video, follow these steps:
- Open the CapCut app on your iOS or Android device and select “New project” from the Home Screen.
- Opt for the video that you want to alter and blur.
- To add the chosen video to your brand-new CapCut project, tap the “Add” button in the bottom right corner.
- In the bottom toolbar of the project screen, select the “Effects” tab.
- In the “Effects” menu, find the “Basic” category. Scroll down and select the “Blur” effect that suits your preferences.
- Once you’ve chosen the desired blur effect, tap the checkmark icon.
- You’ll be returned to the project timeline, where you’ll see the Blur effect applied to your video. By default, the blur effect is only applied to a portion of the video.
- To extend the blur effect to the entire video, tap and drag the end of the “Blur” bar to the end of your video timeline.
- To blur the entire video, make sure the Blur effect and your main video have the same finish time.
- Finally, save your edited video according to the provided instructions.
By following these steps, you can effectively blur the entire content of your video using the CapCut app.
Method 2: How To Blur On CapCut a Portion of a Video?
- Begin by opening the CapCut app and creating a new project. Then, add the video you wish to blur.
- Tap the ‘Add’ button in the bottom right corner after selecting the video you wish to edit.
- After adding the video to your project, navigate to the ‘Overlay’ tab at the bottom of the screen.
- Inside the ‘Overlay’ tab, choose ‘Add overlay’ and select the same video you added earlier as an overlay.
- The overlay video will now appear on top of your main video. Use your fingers to align the overlay video precisely with the main video to ensure they match perfectly.
- To reach the main toolbar after aligning the videos, tap the left-facing arrow symbol in the bottom left corner. Select the ‘Effects’ option that appears at the bottom next.
- Under the ‘Effects’ menu, go to the ‘Basic’ category and choose the ‘Blur’ effect. Once selected, tap the checkmark icon to apply the blur effect.
- CapCut may not apply the blur effect to the entire video automatically. To fix this, drag the end pointer of the blur effect to cover the entire video.
- Select the “Blur” bar and tap on the ‘Object’ tab at the bottom. From the menu that appears, choose ‘Overlay’ and then tap the checkmark.
- By touching the left-facing arrow icon in the bottom left corner, you can return to the primary project timeline.
- Back in the project timeline, go to the ‘Overlay’ tab once more.
- Inside the Overlay screen, select the second video that serves as an overlay. Swipe through the bottom toolbar and choose the ‘Mask’ tool.
- You can now choose different shapes for your blur effect. If you’re blurring a face, consider selecting the ‘Circle’ option, but you can pick any shape that suits your needs.
- Before applying the mask, position it over the area you want to blur and resize it using the provided arrows. You can also adjust the blur intensity with the downward-facing arrow. Once customized, tap the checkmark at the bottom to apply the mask.
- If the subject in your video is in motion, you should track and blur them as they move. To do this, play the video and identify moments when the subject moves out of the blur area. Tap the Keyframe icon near the play button to mark those spots.
- With a keyframe selected (indicated in red), access the ‘Mask’ option from the bottom toolbar and adjust the mask as needed.
- You can add as many keyframes as necessary to track the subject’s movement. Multiple diamond icons will appear on the seek bar, indicating keyframes.
- Finally, export and save the edited video by following the instructions outlined in the previous section.
These steps will allow you to blur specific portions of your video using CapCut effectively.
Method 3: How To Blur Your Background on CapCut?
To achieve a background blur effect in CapCut, you can follow these steps:
- Open the CapCut app and create a new project.
- Select the video you want to edit and add it to your project.
- Duplicate the video clip by selecting it and tapping “Copy” in the bottom toolbar.
- Swipe to the first clip and tap on “Effects” from the bottom toolbar.
- Choose “Video effects,” and then go to “Basic” and select “Blur.”
- Apply the blur effect to the first clip and adjust its length to cover the entire clip.
- Move to the second clip and tap on it.
- Select “Remove background” from the bottom toolbar to remove the background from the second clip.
- Check the result, and if you’re satisfied, tap the left arrow icon to go back.
- Merge both clips into a single video by selecting the second clip and tapping “Overlay” in the bottom toolbar.
- Ensure both clips are aligned by dragging the second clip to the start of the first clip.
- Preview the final video by tapping the Play icon.
- To adjust the blur intensity, tap on “Effects” from the bottom toolbar, select the existing Blur layer, and tap “Adjust.”
- Use the Blur slider to modify the blur intensity (recommended range: 10-15).
- Tap the tick mark to apply the changes.
- Preview the video with the desired background blur effect.
- Finally, export and save the video to your library following the export instructions provided in the app.
Methods 4:How To Blur On CapCut the Sides of a Video?
To apply a blur effect to the sides of a video in CapCut, follow these steps:
- Open the CapCut app and create a new project.
- Select the video you want to edit and tap the ‘Add’ button located at the bottom right corner of the screen.
- Once your video is added to the project, go to the ‘Format’ tab by swiping left on the bottom toolbar.
- Choose your desired aspect ratio from options like 9:16, 16:9, 1:1, 4:3, 2:1, and others.
- After selecting the format, navigate to the ‘Canvas’ tab at the bottom of the screen.
- Inside the Canvas screen, tap on the ‘Blur’ option.
- Choose the type of blur effect you want to apply to the sides of your video, and then tap the checkmark icon located at the bottom right corner of the screen.
- You will now see a video preview at the top, displaying your video with the applied blur effects on the sides. The specific sides that are blurred will depend on the format you selected.
- Your newly edited video with blurred sides is now ready to be saved. Follow the instructions in the app to export your edited video.
These steps will help you adjust the aspect ratio of your video and add a blur effect to fill the empty sides, ensuring it meets your desired format requirements.
FAQs
Can the intensity of the blur effect be adjusted in CapCut?
Yes, you can adjust the intensity of the blur effect in CapCut. After applying the blur effect, you can tap on the effect layer and select “Adjust” to modify the blur intensity using the Blur slider.
Does CapCut offer different shapes for masking?
Yes, CapCut provides various mask shapes for blurring specific areas in a video. You can choose from shapes like circles, squares, and more to customize your blur effect according to your preferences.
Final Verdict
How to Do CapCut Green Screen?
I have provided a comprehensive solution to the problem of how to blur on CapCut. CapCut offers a versatile set of tools and methods for blurring videos, catering to a wide range of editing needs. Whether you want to blur the entire video-specific portions, create a background blur effect, or apply a side blur, CapCut provides user-friendly solutions for each scenario.
With the ability to adjust blur intensity, track moving subjects with keyframes, and choose from various mask shapes, CapCut empowers users to achieve professional-level video blurring effects.